
What I used:
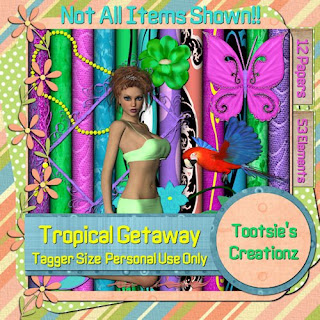
Tag Kit by Tootsie’s Creationz called “Tropical Getaway” http://digifoxsstudio.net/store/index.php?main_page=product_info&cPath=1_48&products_id=1069
Kit includes a set of posers by Kairina Kat Kreations http://www.kairinakatkreations.blogspot.com/ and also Macaw posers from Graphics by Belle
http://tech.groups.yahoo.com/group/Graphics-by-Belle/
Adobe Photoshop Creative Suite 4
{Make sure “show transform controls” is checked off on tool bar, or “show bounding box” for Photoshop Elements, or “pick” tool selected in Paint Shop Pro to allow easy resizing of elements by adjusting “box” around element.}
What I did:
1. Open a new transparent canvas 600 pixels x 600 pixels. Use circular selection tool to draw large circle & fill with background of choice (tc2, at about 30%).
2. Select tree (tc-coconut tree). Copy & paste. Adjust size & angle to taste. Apply “bevel & emboss” effect, followed by “outer glow” effect.
3. Select decorative element (tc-beach ball). Copy & paste. Resize as needed. Apply “bevel & emboss” effect.
4. Select poser of choice (tc-girl2). Copy & paste. Resize as needed. Apply “bevel & emboss” effect.
5. Choose bird poser if desired (tc_macaw3). Copy & paste. Resize & position as desired. Apply “bevel & emboss” effect.
6. Select text colour & desired font (black, Candice 12). Create a text box along edge of tree with text going in appropriate direction, & type the desired text. In your layers control box, highlight that text layer & right click. Select “Warp Text”. A new selection box will appear click style & a drop down menu will appear. Choose the option that best approximates what you want (arch). You may have to adjust the positioning of the text slightly after creating it. Apply “bevel & emboss” effect. For the name I increased font size to 16 & then applied “bevel & emboss” effect. Use a smaller font to add necessary tag information (Arial 2-4).
7. Merge visible & save.

Tutorial for “Tropical Getaway” tag2
What I used:
Tag Kit by Tootsie’s Creationz called “Tropical Getaway” http://digifoxsstudio.net/store/index.php?main_page=product_info&cPath=1_48&products_id=1069
Kit includes a set of posers by Kairina Kat Kreations
Adobe Photoshop Creative Suite 4
{Make sure “show transform controls” is checked off on tool bar, or “show bounding box” for Photoshop Elements, or “pick” tool selected in Paint Shop Pro to allow easy resizing of elements by adjusting “box” around element.}
What I did:
1. Open a new transparent canvas 600 pixels x 600 pixels. Use the preset shape rounded rectangle to almost fill canvas. Use New Fill layer with use previous layer to create clipping mask checked off to fill with background of choice (tc-3).
2. Select frame (tc-frame3). Copy & paste. Adjust size to taste. Apply “bevel & emboss” effect, followed by “outer glow” effect & “inner glow effect”. With the previous (background) level selected, used the circular selection tool or the lasso to select & delete the area inside the frame.
3. Select poser of choice (tc-girl4). Copy & paste. Resize & position as needed. Apply “bevel & emboss” effect.
4. Select decorative element (tc-doodle6). Copy & paste. Rotate& resize as needed. Apply “bevel & emboss” effect. Repeat with another copy.
5. Choose another element if desired (tc-sunglasses). Copy & paste. Resize & position as desired.
6. Select text colour & desired font (black, Chaparral Pro Bold Italics 18). Create a text. For curved text, create a text box in selected area with text going in appropriate direction, & type the desired text. In your layers control box, highlight that text layer & right click. Select “Warp Text”. A new selection box will appear click style & a drop down menu will appear. Choose the option that best approximates what you want (arch). You may have to adjust the positioning of the text slightly after creating it. Apply other effects if desired. For the name I changed the font to Cluff HMK 18 & applied a glitter effect. Use a smaller font to add necessary tag information (Arial 2-4).
7. Merge visible & save.
Hope you like these. Enjoy.


No comments:
Post a Comment