 Nik's Scripts & Scraps has an absolutely adorable tagger's kit out called Fairy Fantasy & since it's created at 300 dpi it is as suitable for scrapping as for tagging.
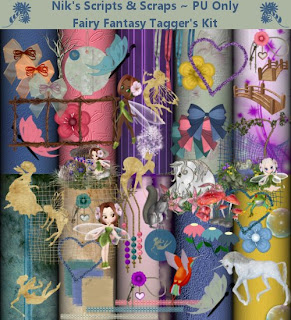

 Tutorial for “Fairy Fantasy” tag
What I used:
An absolutely adorable tagger’s kit by Nik’s Scripts & Scraps called “Fairy Fantasy” http://www.scrappetizing.com/store/index.php?main_page=product_info&cPath=65_167&products_id=1249.
Adobe Photoshop Elements 6
What I did:
(You may need to experiment to find the equivalent effects in other graphic programs – try a drop shadow effect & various 3D effects & bevels.)
1. Open a new transparent canvas measuring 600 pixels x 600 pixels. Use a preset shape of choice, like the butterfly.
2. Choose your background (paper 3). Fill the preset shape with background by applying a new layer, but clipping it to the previous layer.
3. Choose a couple of the silhouette shapes (faun silhouette & fairy silhouette 3). Copy, paste & resize as necessary, positioning where desired, & adjusting opacity to 50%.
4. Copy & paste a fairy figure, resizing as needed & applying the “hard edge” effect.
Choose your font & enter your desired text. In this case I used Gaze size 11 for the words & size 30 for the name; I then applied the “hard edge” effect, followed by the “groovy” effect. Use a smaller font to apply tag info in an inconspicuous place (Arial 2).
5. Merge visible & save.
Enjoy.


No comments:
Post a Comment